
Your First Quilting Class: What to Expect and Bring
A machine in good working order, a rotary cutter, a long ruler and a modest stack of cotton are most of what a beginner quilting class asks you to bring.
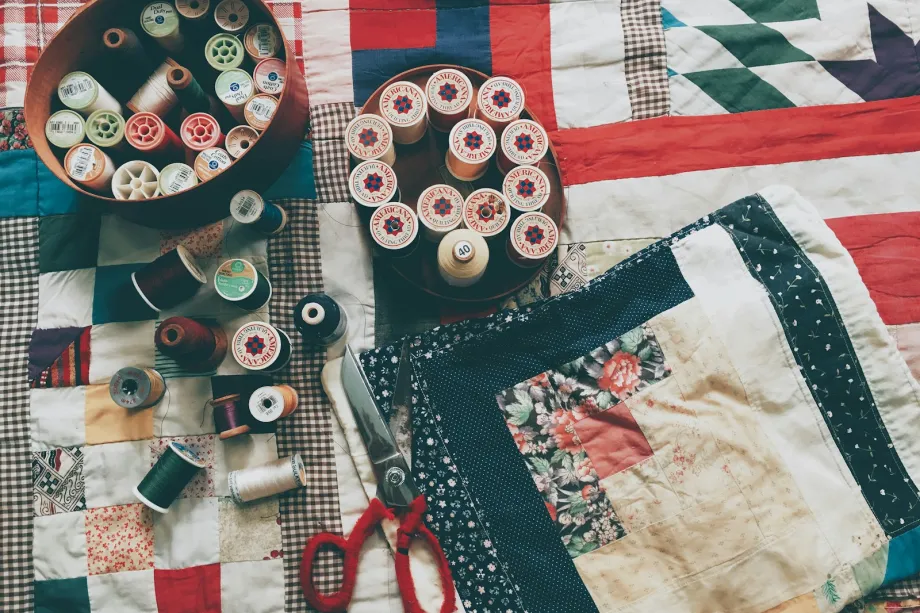
Walking into a classroom with a bag of fabric and a sewing machine case can make anyone nervous. It is easy to imagine that everyone else already knows how to match points perfectly. They usually do not. Beginner classes are built for people who are starting from scratch, and a little preparation makes the first session far more relaxed.
How classes are usually organized
Most quilting classes follow one of two formats. Knowing the difference helps you pick one that suits your schedule.
A series over several weeks
A course spread over several weeks meets regularly, often once a week for a few hours at a time. Each session covers one stage of the project: cutting in the first, piecing blocks in the next, then joining the top. The gap between meetings is useful. It gives you time to practice, and to catch up if one lesson moved faster than you did.
A one-day workshop
A workshop fits into a single morning, afternoon or full day. It usually centers on a small project you can finish on the spot or soon afterward, such as a table runner, a placemat or a pot holder. A workshop is a good way to find out whether you enjoy machine piecing before signing up for something longer.
What to pack
Classrooms often provide irons and ironing boards, and some have cutting mats. Hand tools are normally your own. Mark your ruler and scissors with a strip of colored tape so they do not wander off with a neighbor's kit.
A typical beginner list looks like this:
- Rotary cutter with a sharp blade
- Clear acrylic ruler, 6 by 24 inches
- Fabric scissors and small thread snips
- Seam ripper
- Fine pins with glass heads, which will not melt under the iron
- Neutral cotton thread in light gray or tan
- Spare machine needles, size 80/12
- Fabric marking pencil
Choose woven quilting cotton for the project. If the class leaves fabric to you, pick fabrics with clear contrast between light and dark, so you can see the pattern form as you sew.
What happens in the first session
Expect to set up your machine and tools before anything else. Most teachers start with machine basics: threading, winding a bobbin, checking the stitch length.
The 1/4-inch seam
Patchwork is built on the 1/4-inch seam allowance. If it wanders, blocks come out different sizes and will not fit together. Your teacher will probably show you a 1/4-inch presser foot, or how to stick a strip of painter's tape on the throat plate as a guide. You will sew test seams on scraps and measure them before touching the real fabric.
A simple block
First projects stay with straight seams. Four-patch, nine-patch and rail fence blocks are common choices because they teach cutting strips with a rotary cutter, pressing and matching seams, with no curves or sharp star points to worry about.
You will also learn the most important cutting habit: close the rotary cutter blade every single time you set it down. Stand to cut, keep your fingers well back from the ruler edge and push the blade away from you.
Pace and classroom manners
Everyone sews at a different speed, so keep your eyes on your own work. Clip threads as you go and keep your space tidy. Irons are shared; while you wait, stretch your back or chat with the person next to you. Mistakes are part of the process. Your seam ripper will get plenty of use, and that never really stops, however long you sew.
Carrying on at home
Most beginners finish a few blocks in class and the rest at home. A simple routine keeps the project moving once the class is over.
A corner to sew in
A sturdy kitchen table or desk is enough, as long as the machine sits level and steady. Add a lamp near the needle. Store the cutting mat flat rather than rolled, since rolling can warp it. A small box for pins, snips and bobbins saves a lot of hunting.
Pressing, not ironing
Pressing is different from ironing a shirt. Put the iron down on the seam, hold it for a moment and lift it straight up. Sliding it back and forth stretches the pieces out of shape. Press seams to one side or open, as the pattern says.
Finishing the quilt
When the top is pieced, you make a quilt sandwich: backing face down, batting in the middle, top face up. Smooth the layers on a clean floor or a large table and pin them together with curved safety pins about a hand's width apart. Straight-line quilting with a walking foot is the easiest way to stitch the layers at home. Add a binding around the edge, and your first quilt is done.
Frequently asked questions
What should I wear to a quilting class?
Comfortable clothes with fitted or short sleeves that will not catch in the machine. Leave long necklaces and loose scarves at home, and wear closed shoes in case a pin or a cutter drops.
Do I need my own sewing machine?
Some classrooms have machines to borrow and others expect you to bring one. Ask before the first session. If you bring your own, check that it runs well and pack the power cord, foot pedal, manual and a spare bobbin or two.
What fabric should I use for a first project?
Woven quilting cotton. It presses neatly, holds its shape and feeds evenly under the presser foot. Save knits, silks and heavy canvas for later.
How long does a first quilt take?
It varies a great deal with the size of the project and how much time you sew between classes. Expect to finish part of the work in class and the rest at home, and do not rush the last steps.