
How to Teach Quilting to Complete Beginners
A pot holder finished in one afternoon does more for a new quilter's confidence than a bed quilt that drags on for months, so the first lessons should be short, safe and complete.
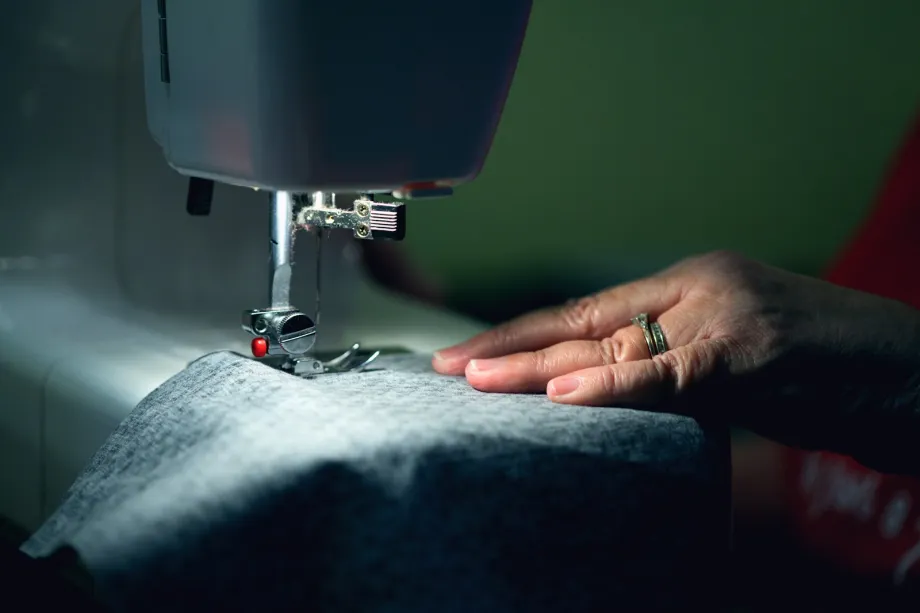
Handing someone a rotary cutter for the first time can make a teacher a little nervous. Watching that same person sew a straight seam and see two squares become one is one of the best parts of the craft. New quilters learn best when lessons are practical, hands-on and built around goals they can actually reach.
On the first day the aim is not perfection. It is confidence, a bit of muscle memory and the pleasure of finishing something real.
Start with projects that finish
A full-size quilt takes a long time, and that can wear down a beginner's enthusiasm. Start with small items that can be completed in one or two sessions.
Small items and simple blocks
Mug rugs, placemats, pot holders and cushion covers make good first projects. They cover the same core skills as a quilt without the fatigue of handling large pieces of fabric.
Keep to blocks made of squares and wide strips. A rail fence or four-patch shows clearly whether the 1/4-inch seam is accurate. Precut 2 1/2-inch strips can take most of the cutting out of the first session, so beginners can concentrate on guiding fabric under the presser foot.
Someone who walks out with a finished placemat has proof that they can do this. That early success carries them into larger projects.
Rotary cutter safety comes first
Rotary cutters make accurate patchwork possible, but the blade is extremely sharp. Safety rules need to be in place before anyone touches one.
The habits that matter
One rule comes before everything else: the blade is closed every time the cutter leaves your hand. If the cutter is lying on the mat, even for a few seconds while someone adjusts the ruler, the guard should be on. Say it often and model it yourself.
Teach students to stand while cutting. Standing puts their weight over the ruler, which holds it steady, and gives a better view of the cut.
Show how to hold the ruler. Fingers spread and press down well inside the ruler edge, away from the path of the blade. The cutter rolls away from the body, never sideways toward the other hand or toward the person cutting.
Nervous students may feel better wearing a cut-resistant glove on the ruler hand. Non-slip dots on the underside of the ruler stop it from shifting and make every cut safer.
Sharing machines
Not every teaching space has a machine for each student. Sharing works well with a bit of organization, and it teaches basic machine care along the way.
Stations and etiquette
Divide the room into a cutting station, a pressing station and a sewing station. As people move between them, nobody sits waiting for a machine.
Cover machine basics before any sewing starts: winding a bobbin, threading, changing a needle. People who understand the machine panic less when the thread jams.
A strip of painter's tape on the machine bed, set exactly 1/4 inch from the needle, gives a clear seam guide. Beginners can watch the tape instead of staring at the needle.
Agree on simple manners. Before moving on, each person clears threads, brushes out lint and returns the stitch length to the agreed setting for the next sewer.
Group quilts build teamwork
A shared quilt connects a class and takes away the pressure of making a whole quilt alone.
Making one quilt together
Ask each student to make one or two blocks for a single quilt. Agree on a palette or a theme first, so the finished quilt hangs together.
When the blocks are trimmed to size, lay them out on the floor or a design wall and let the group decide the arrangement together, balancing color and value.
Split the assembly. One person sews rows, another presses seams in alternating directions, a third pins the long row seams. Then show the group how to layer backing, batting and top, how to baste with safety pins and how to quilt straight lines along the seams. Seeing many small efforts become one sturdy quilt is a strong lesson in itself.
Pacing and feedback
Beginners rarely move at the same speed, so plan each lesson with a core task everyone can finish and an extra step for those who are ahead. Joining a binding, adding a border or trying a new block all work well as extensions.
Feedback shapes how people feel about the craft. Point to what is working before pointing to what needs fixing, and be specific: a seam that wanders, a ruler line not quite on the fabric edge. Show the fix rather than describing it. Treat the seam ripper as an ordinary tool, not a sign of failure. Experienced quilters reach for theirs all the time.
End each session with a quick look at what everyone made. A row of finished pot holders on a table, imperfect corners and all, is the best advertisement for coming back next week.
Keeping new quilters going
Teaching quilting is passing on a useful craft. Students who have learned safe cutting, the workings of their machine and accurate piecing leave with skills they can build on for years. Small finished projects, a shared quilt and patient, specific feedback make the craft feel approachable, and that is what keeps beginners sewing long after the class ends.
Frequently asked questions
What is a good first project for a beginner?
Something small and useful, such as a mug rug, a pot holder or a placemat. It can be finished in a session or two and still teaches cutting, an accurate seam, quilting and binding.
How do you teach rotary cutter safety?
Before anyone cuts, make one rule non-negotiable. The blade is closed every time the cutter leaves the hand. Then teach standing to cut, keeping fingers well inside the ruler and pushing the blade away from the body.
What if there are fewer machines than students?
Set up separate stations for cutting, pressing and sewing. While one person sews, others cut or press, so everyone stays busy and the machines never sit idle.