
How to Make a Quilt Label That Lasts
A quilt label preserves the story behind your work for generations. This guide walks you through choosing materials, creating the design, and attaching it so the label stays legible after decades of washing.
What information should I put on a quilt label?
A good label records the quilt's story for anyone who sees it decades from now. Include your full name as the maker, the month and year it was finished, and the name of the person or occasion it was made for. These three facts turn a lovely quilt into a documented heirloom.
Beyond the basics, you can add details that give the quilt more personality and practical value. What you add depends on whether the quilt is a gift, a show entry, or a personal keepsake. Most quilters include these details:
- Your full name and the city where you made it
- The completion date, written as a month and a four-digit year
- The recipient's name or the occasion, such as a wedding or a new baby
- A short washing instruction if the quilt will go on a bed
- The pattern name or the designer who inspired the top
- A personal message of two or three lines, like a wish or a favorite quote
Which fabric works best for a quilt label?
Quilting cotton is the most reliable choice for a label because it behaves exactly like the quilt top. It takes ink or embroidery well and shrinks at the same rate as the rest of the quilt, so the label stays flat through every wash. A scrap from the fabric you used for the quilt back is ideal.
Linen gives a crisp, slightly textured surface that looks elegant, but it frays more than cotton and needs a wider seam allowance. Pre-treated printer fabric sheets are convenient for a sharp, detailed print, yet the coating can crack after repeated laundering. If you use them, choose a brand rated for heavy washing and test one sheet first.
- Cotton scraps match the quilt’s shrinkage and hold stitches securely.
- Linen offers a refined look but requires extra care at the edges.
- Printer sheets produce fine text but may stiffen over time.
- Avoid stretchy or synthetic fabrics that distort when sewn.
- Pre-wash your label fabric to prevent future puckering.
How do I transfer text onto a fabric label?
You can transfer text using a permanent fabric marker, hand embroidery, or an inkjet printer with prepared fabric sheets. Each method gives a different look and level of permanence. Your choice depends on your handwriting, your tools, and how much time you want to spend.
Permanent fabric markers are the quickest option. Write on a smooth, stabilized piece of fabric and heat-set the ink with a dry iron according to the marker instructions. Hand embroidery creates a textured, heirloom finish. Use a backstitch or stem stitch on fabric stabilized in a hoop, and keep the thread tails short on the back to reduce bulk. Printing on prepared fabric sheets, such as EQ Printables or June Tailor Sew-In Inkjet Fabric Sheets, gives you full control over fonts and layout. After printing, peel off the paper backing and rinse the sheet in cool water to set the ink before you cut the label to size.
- Test the marker on a scrap of the same fabric to check for bleeding before writing the final label.
- Place a piece of cardstock under the fabric to keep the marker tip from dragging and to prevent ink from seeping through.
- When embroidering, use a single strand of cotton floss for small lettering to keep the text crisp and legible.
- Run a blank sheet of printer paper through the inkjet first to remove any dust, then load a single fabric sheet into the manual feed tray.
- Let the printed fabric sheet dry for at least 15 minutes before handling it, even if the surface feels dry to the touch.
- Set the printed label with a dry iron on the cotton setting for 30 seconds to improve wash fastness, following the sheet manufacturer’s directions.
How do I attach the label to the finished quilt?
You have two reliable methods. If you hand-stitch the label to the backing fabric before you layer and quilt the sandwich, you lock it in place permanently, because the quilting stitches pass through the label just like the rest of the top. Place the label in a bottom corner on the right side of the backing, about an inch from both edges, and baste it down so it does not shift during assembly.
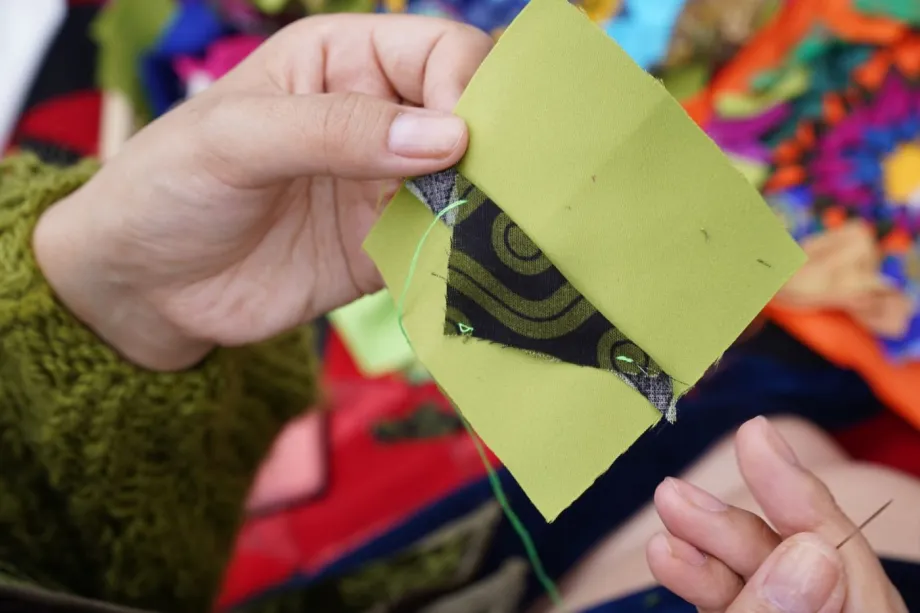
If you have already finished the quilt, appliqué the label with a blind stitch. Press under a quarter-inch seam allowance on all four sides of the label, pin it to the backing, and hand-stitch the folded edges with a matching thread. A blind stitch catches only a thread or two of the backing fabric, so the stitches stay nearly invisible from the front while the label holds securely through washing and use.
How can I make the label stay readable after many washes?
A label that fades after a few wash cycles loses its purpose. The key is to lock in the ink and choose materials that resist wear. Start by pre-washing the label fabric in hot water before you add any text. This shrinks the fibers and removes any sizing that could later cause the ink to crack or flake off.
Heat-setting the design is the most critical step for any printed label. Place a pressing cloth over the dry label and press it with a hot, dry iron for at least 30 seconds. Do not slide the iron, as that can smear the ink. This fuses the pigment to the fabric threads and makes it a permanent part of the cloth.
- Pre-wash the label fabric to pre-shrink it and remove chemical sizing.
- Heat-set printed ink with a dry iron and a pressing cloth for 30 seconds.
- Use colorfast cotton or polyester thread for all hand-embroidered text.
- Sew the label on with a slip stitch, turning the raw edges under to prevent fraying.
- Avoid fabric softeners, which coat fibers and can degrade ink adhesion over time.
Can I add a label to a quilt I finished years ago?
You can add a label to a finished quilt without undoing the binding or quilting. The two most practical methods are fusible web and hand stitching directly onto the backing.
Fusible web is the simpler method. Cut a label blank from smooth cotton, write or print your text, then fuse it to the backing with a sheet of paper-backed adhesive. Position it in a lower corner where it will not interfere with the quilt's drape. A narrow zigzag or a straight stitch around the edge prevents the corners from lifting over time.
If the quilt is already in use, hand stitching holds more securely. Turn under a quarter-inch seam allowance on all four sides of the label, press it flat, and pin it to the backing. Use a fine needle and thread that matches the backing fabric. Take small stitches through only the backing layer, never through the batting or the quilt top. This keeps the original quilting undisturbed and holds the label firmly.
Frequently asked questions
Can I use a regular ballpoint pen to write on a quilt label?
No. Ballpoint ink will bleed and fade after the first wash. Use a permanent fabric marker or a pigment-based pen designed for textiles, and always heat-set the ink with an iron before washing.
Do I have to sew the label on, or can I use fabric glue?
Sewing is the only method that holds up long-term. Fabric glue can stiffen, yellow, or peel away over time. A simple whipstitch or blind stitch around the folded edges keeps the label secure and soft.
What is the easiest way to make a label if I don't embroider?
Printable fabric sheets designed for inkjet printers give a crisp result with almost no handwork. You type your text, print it onto the sheet, peel off the backing, and sew the label onto the quilt. Just be sure to follow the manufacturer's instructions for setting the ink.